Simple Neck Design Stitching
Hi Friends,
Welcome back to my blog fashionpointvilla. Today we will discuss about Simple Neck Design Stitching.
Steps:


Welcome back to my blog fashionpointvilla. Today we will discuss about Simple Neck Design Stitching.
Steps:
- With the help of inchetape, cut U Shape neck with width 6.5 inch and length 7 inch

- Spread the plain extra cloth and put the U shape front neck design over and draw its shape over this extra cloth

- Now cut the marked area with the help of the scissor

- This cutting will look like as shown below:

- Put this cutting over the U shape neck design

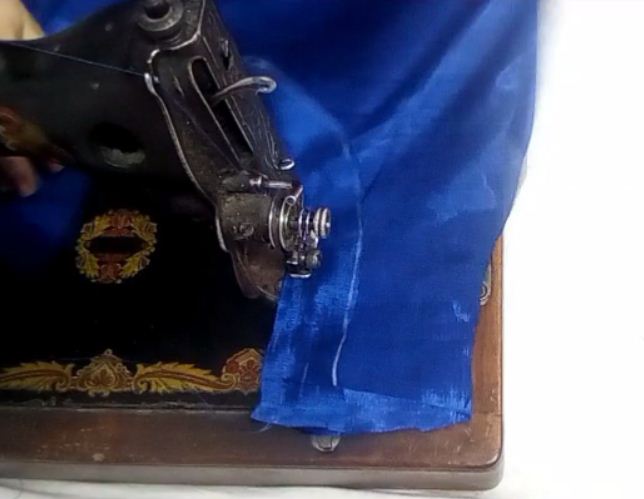
- Stitch this cutting on the upper part of the U shape neck with the help of the sewing machine

- Cut the inner part of this stitched front neck with the help of the scissor to fold it easily
 After cutting, stitch the upper layer
- After stitching it, fold the upper part of the front neck towards inner side


- With the help of the needle sew the folded part on the front neck

- The ready front neck will look as mentioned here:

- Now repeat the same steps over the back neck design as shown here:


- Now both front and back necks are ready and will look as mentioned here:

- Now put the front neck part over the back neck part as shown here:

- Now stitch both parts with the help of the sewing machine

- After stitching both parts our simple neck design is completely ready and will look as mentioned below:

So this the complete process of stitching a simple neck design. I will really appreciate if you give your valuable feedback on this in the comment section below. Further, feel free to visit our youtube channel fashionpointvilla (https://www.youtube.com/channel/UCiw3ALRjhSp-Fo9YJZBQrsQ?view_as=subscriber) in case you have any query.
Thanks,
fashionpointvilla
Very good explanation
ReplyDelete